As discussed above Dental Water Line Testing is fundamental to ensuring a clinic’s hygiene standards.
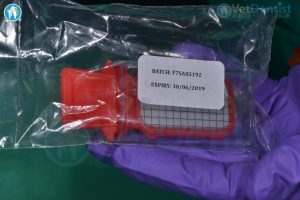
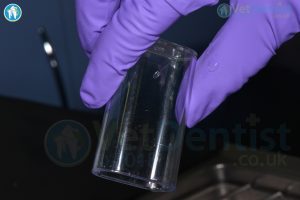
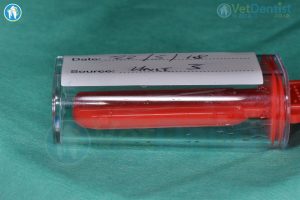
 A: Check the expiry date and that the packet is sealed. For full audit purposes – make a note of the batch number. Locate the 18ml fill line on the clear outer container. Also ensure that the Red Sampler is pressed into and sealed within the clear outer shell.
 B: Carefully pull out the Red Sample – ensuring no contamination.
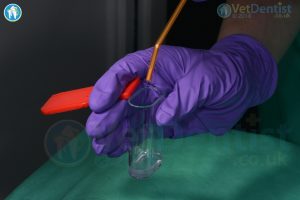
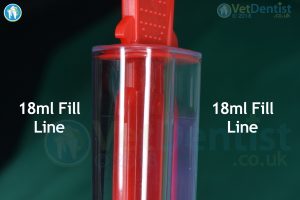
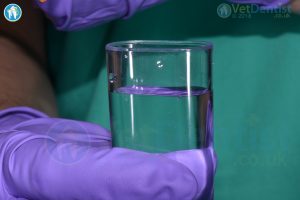 C: Using the Three-Way syringe fill the clear container to the 18ml fill line.
It can also be filled from the high speed or ultrasonic scaler water supplies.
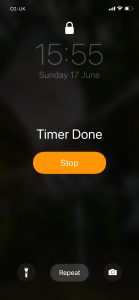
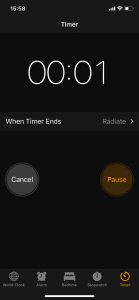
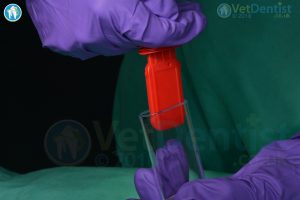
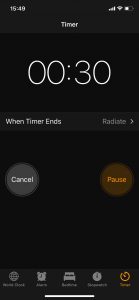 D: Gently reinsert the Red Sampler into the container and water sample. Start the Timer for 30 seconds.
This ensures that water soaks into the test medium.
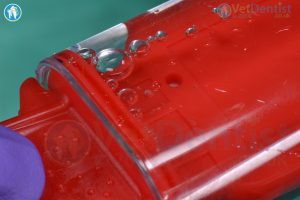
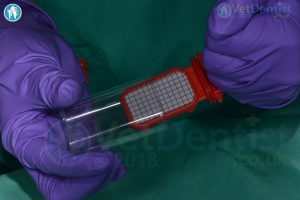
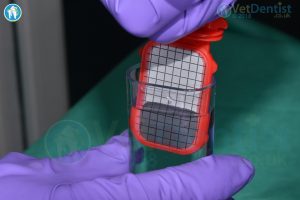
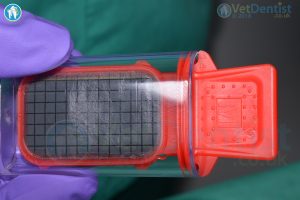
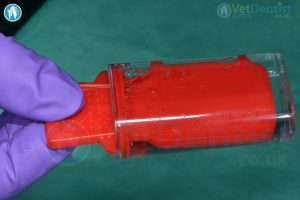 E: Place the Red Sampler horizontally with the grey side down. Gently tap on the container to ensure that all of the air bubbles are released from the small vent on the upper red side. This ensures that a full 1ml of water is tested.
 F: After 30 seconds empty out the test water from the clear container – shake vigorously. Also shake off any excess water from the Red Sampler
 G:
G: 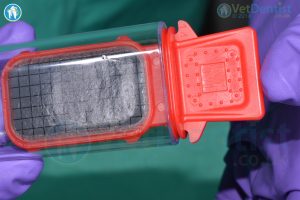 Reinsert the Red Sampler into the clear container. Press it in firmly to ensure a tight seal.
The unit is now an incubator – mimicking the conditions of your dental unit water lines
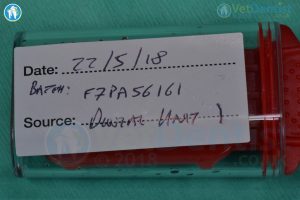
 H: Label clearly. Place the Red Sampler GREY SIDE DOWN in a dark place at room temperature (20ᵒC). Leave the Red Sampler for 7 Days.
Ideally record the incubation temperature.
An incubator is available if faster results are required – contact us for details)
Reading the Results
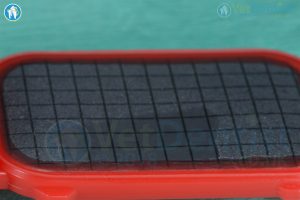
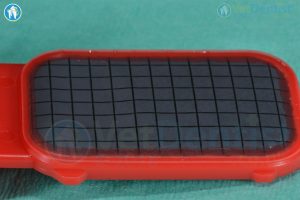
After one week read the results. It is important to use magnification to properly assess the Red Sampler’s test surface. In addition photographs should be taken, which can then be archived for certification purposes.
Avoid the Light Reflection Test Reading Error
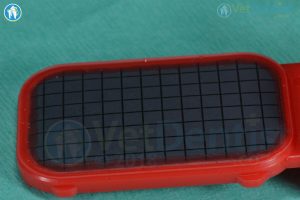
 Light reflections can interfere with obtaining an accurate reading. Tilt the Sampler to allow proper assessment. These two pictures are of the same Sampler – simply taken at slightly different angles.
Be careful not to make a false PASS judgement.
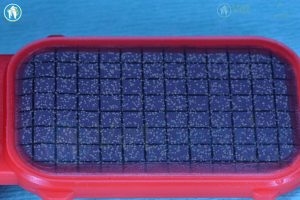
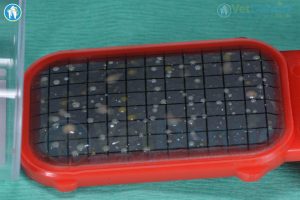
Beware – Total Overgrowth is commonly read as a “Pass”

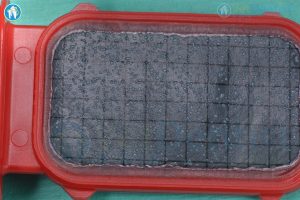
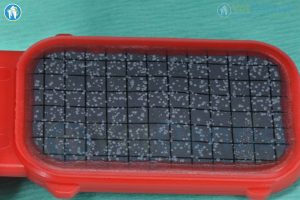
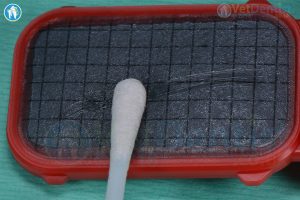
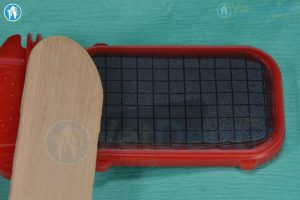 With heavy contamination (which is typically found in DUWLs which have been inadequately maintained) a total overgrowth may occur. This can have the appearance of “no growth”. If a tongue depressor is wiped across the Sampler surface a patch of the plate is cleared of a “slime” of bacterial colony formations.

 The slime can clearly be seen on the tongue depressor’s surface. The cleared area is also clearly visible on the surface of the Sampler.
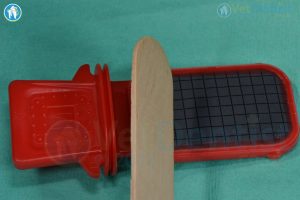
 A TRUE Negative growth Sampler will not show any cleared area or any slime on a tongue depressor.
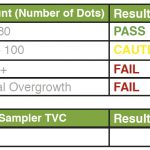 Record Your Results
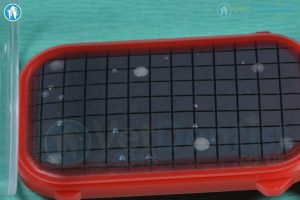 PASS: 0 to 80 CFUs
 Caution: 81-100 CFUs
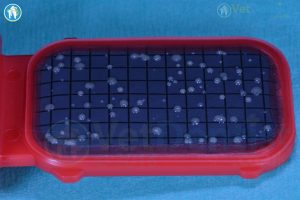
 Fail: 101+ CFUs
 Fail: Overgrowth